Steps to Define and Create ICR Fields
-
-
Select the ICR Tool button in the toolbar.
-
Define an ICR field by selecting the corner of the field on the form image with your mouse and drag to the diagonal corner.
- The defined field will highlight in orange so it's obvious what area is defined on the form. This field can be modified at any time which will modify the area values displayed in the Properties View.
- The field area values are displayed in the Properties View. These values can be modified which will in turn, change them in the Image View.
- A Field name is added in the Tree View. This name can be modified at this location or in the Properties View Field text box.
-
-
Modify the Dropout Properties
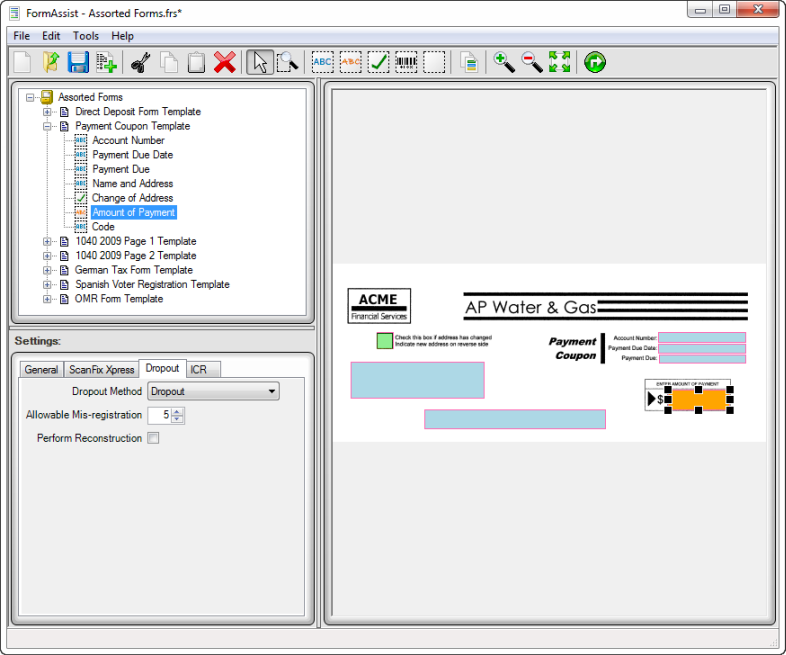
Adjust the settings for the Dropout image operations by selecting the Dropout tab in the Properties View as shown below.
See the Dropout Properties topic for information on Dropout and details on its property values and how to set them for best results.

-
Modify the ICR Properties
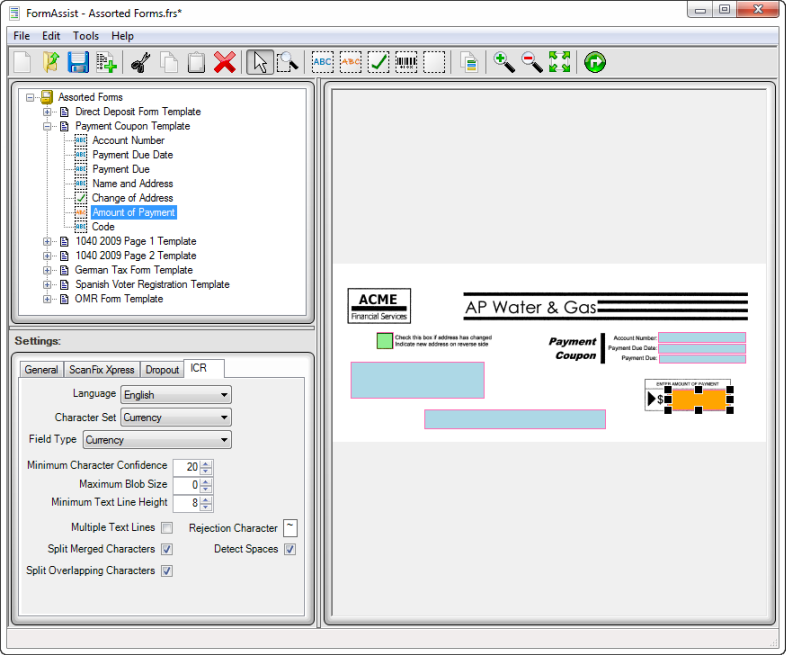
Adjust the settings for the ICR properties by selecting the ICR tab in the Properties View as shown below.
See the ICR Property Details for information on ICR Properties with details on each property and how to set them for best results.

-
The ICR Field is now created and defined
Once the form set is saved, and forms processing is initiated, this field will be analyzed according to the properties set on it and any respondent markings from this field will be extracted.
 See Also


